The race to Le Mans is well underway, with the list of things growing at an alarming rate. Some of the things to do included changing the engine coolant and bleeding the brakes. Checking that there is some pad material left, or even discs that are thick enough to stop the pads from coming out might be a good idea…
Fixing the washer bottle leak was somewhat lower down the list of priorities; I hadn’t worked out if it was the silicone hoses, the joint at the bottom or the bottle itself. I wasn’t about to remove the inner arch liner on that side to start dismantling that end of the car to find out. Besides, I haven’t seen anywhere selling the strange black washer hose that Saab seemed to use.
No, I was going to continue with the necessary things, and to avoid looking like a total let down when parked on site I really needed to do something about the headlining. The problem with going to such an event is that you are going to be surrounded by expensive and desirable cla$$ics and the sagging headlining was doing nothing to elevate our status. Besides, when cruising with the windows down the bellowing effect was impairing visibility, not to mention spreading the remains of the foam backing all over the interior and its occupants. This I could imagine going down well with the local Gendarmerie who would assume that the two English idiots inside were part of some banger rally and not attending one of their countries most prestigious motoring events.
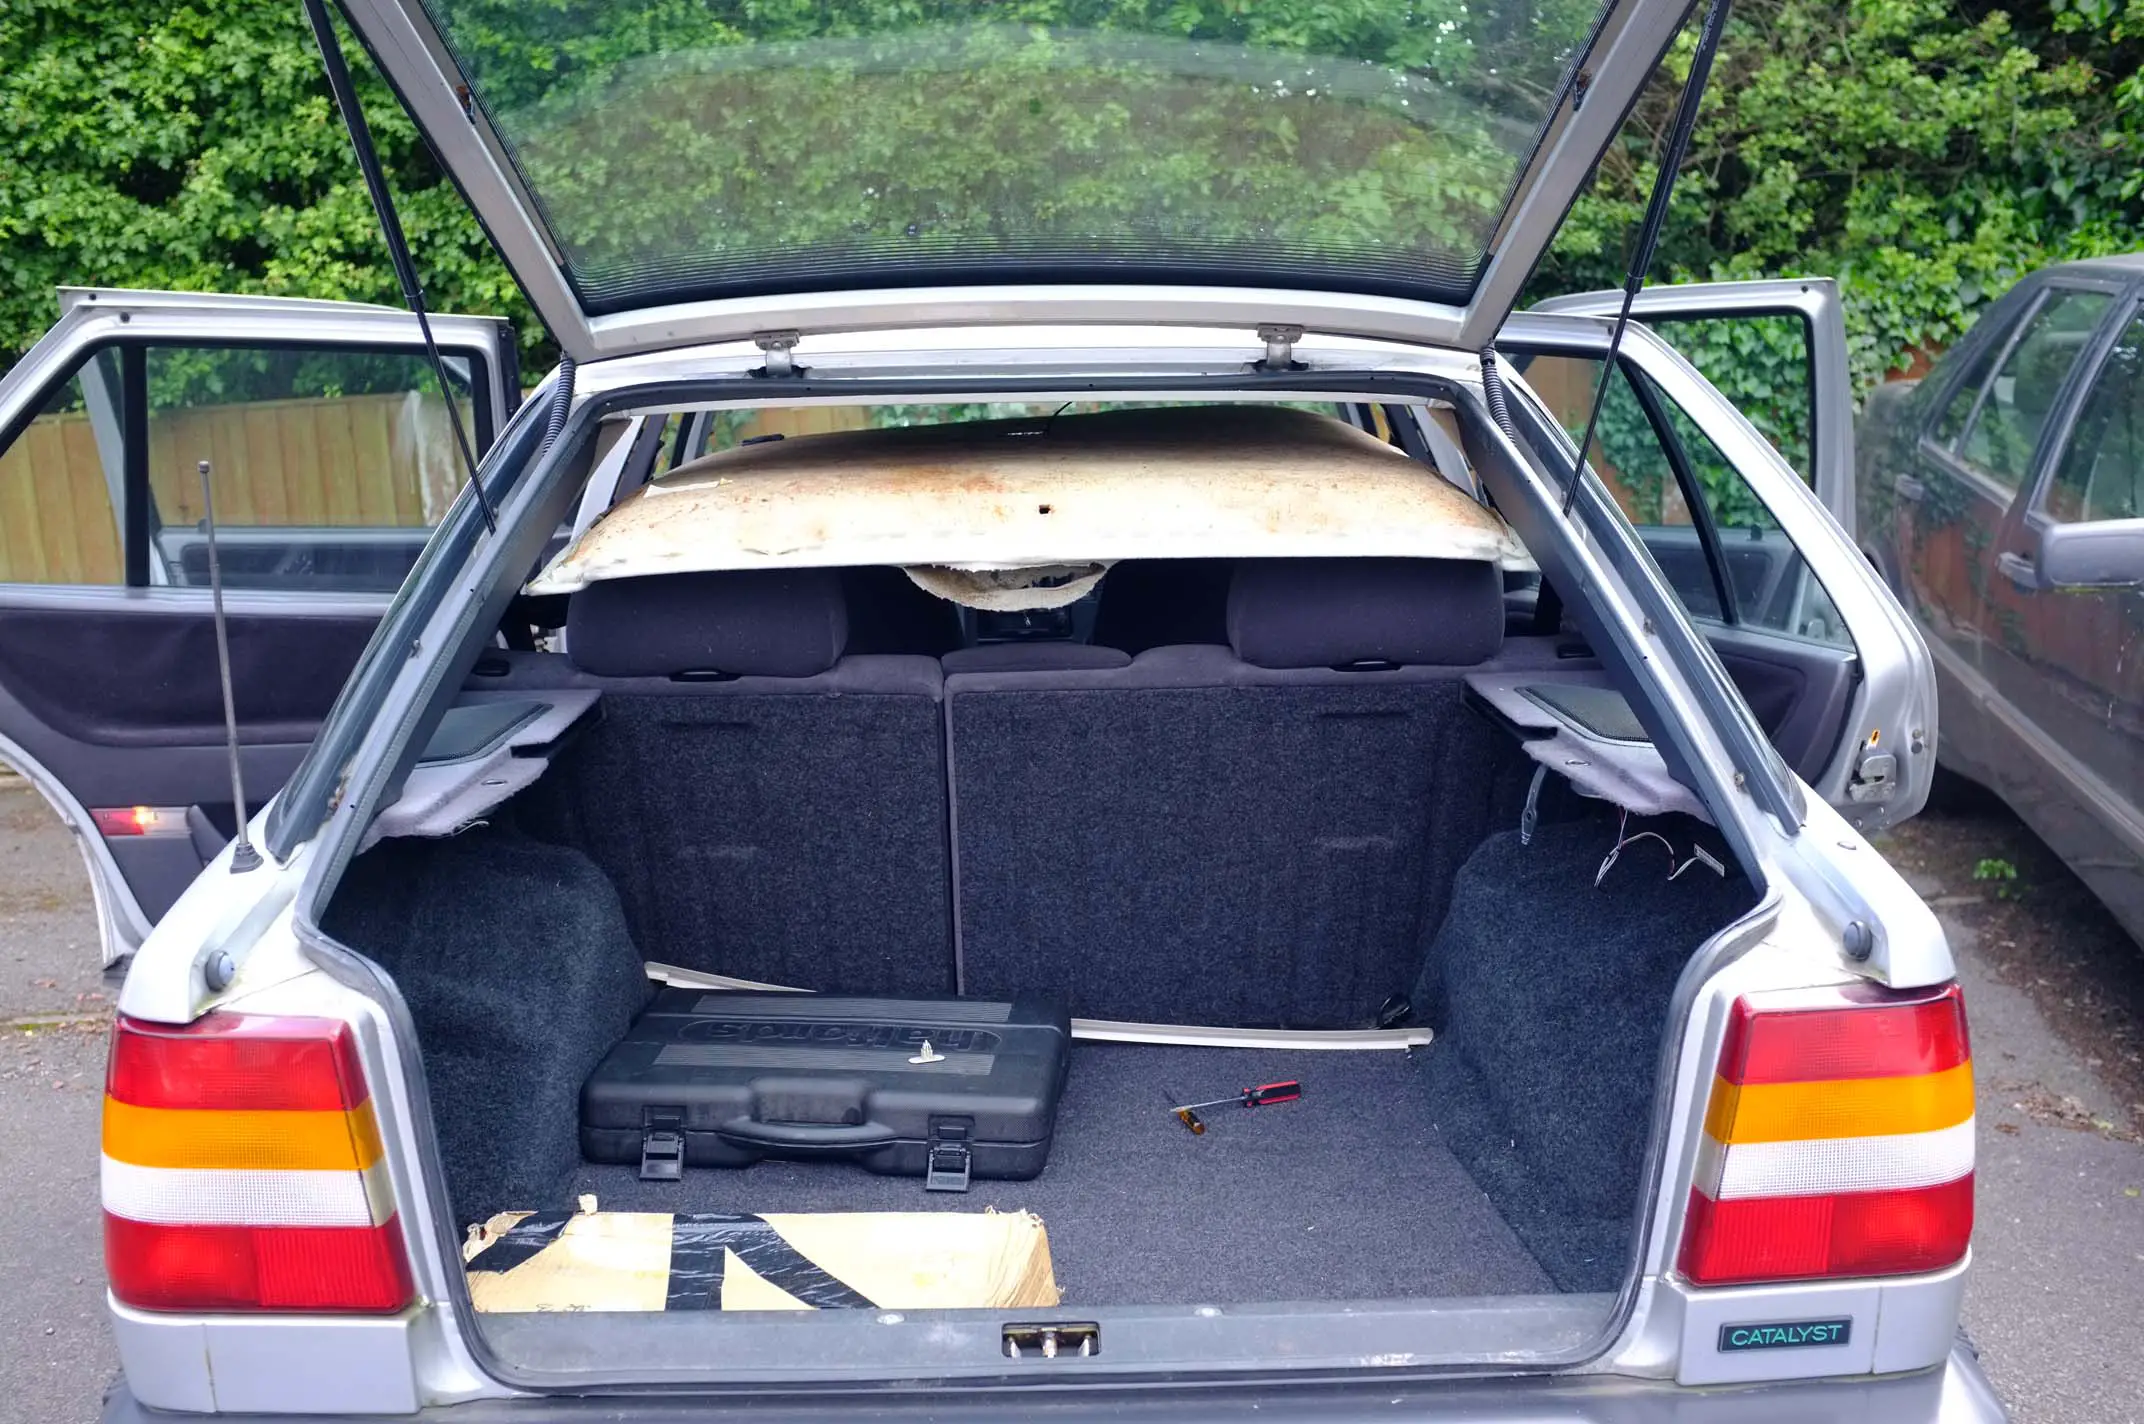
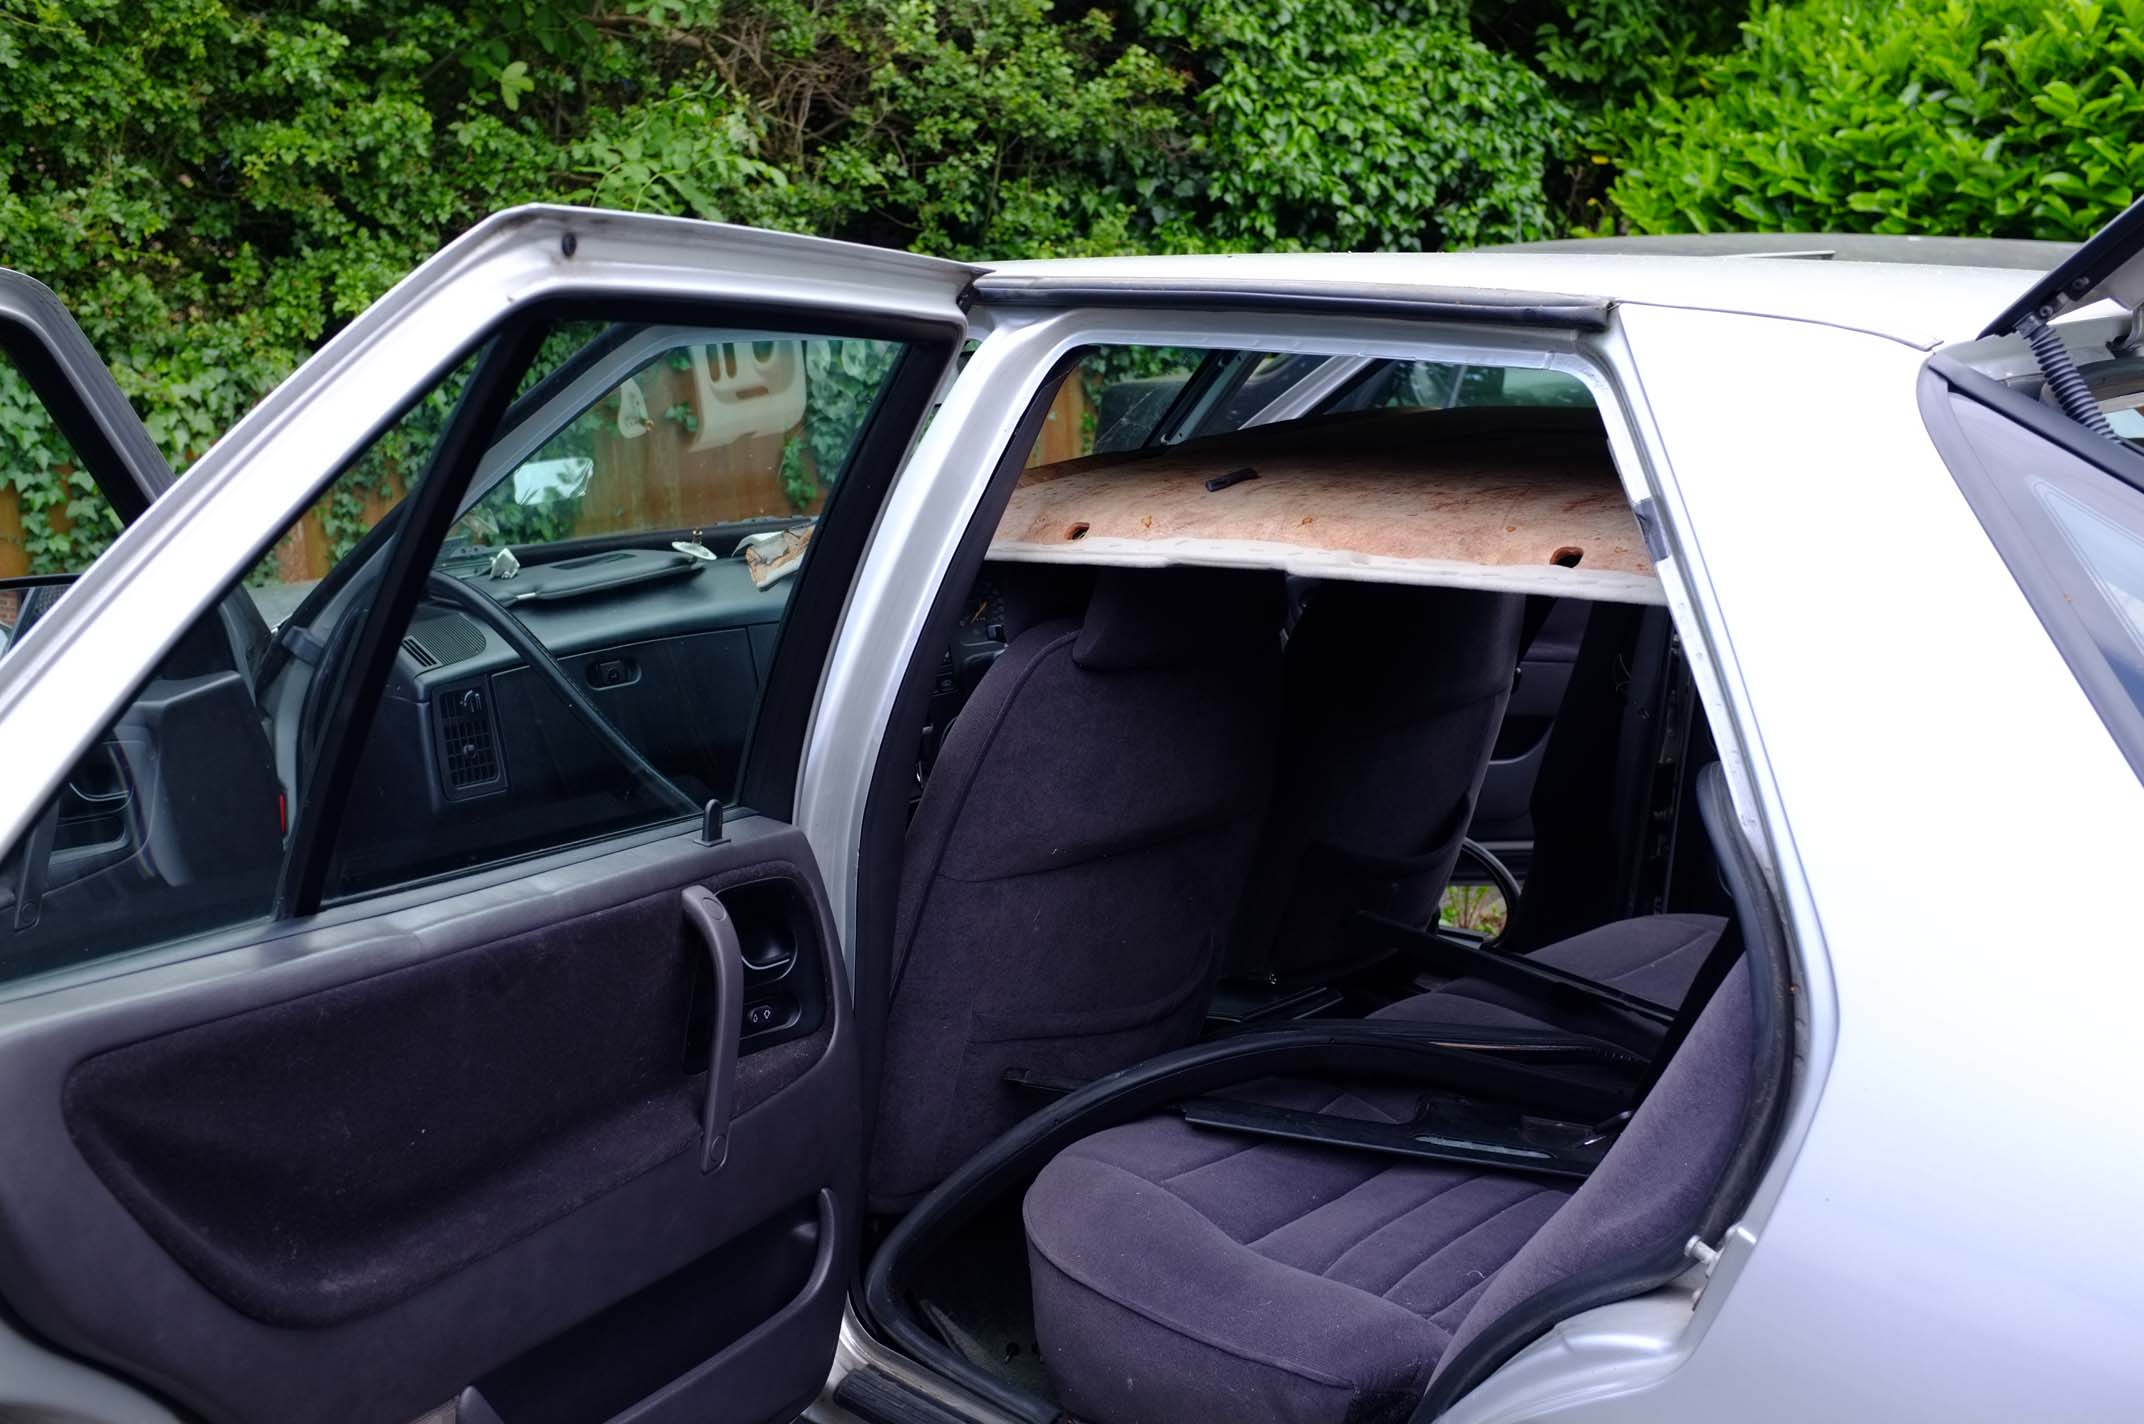
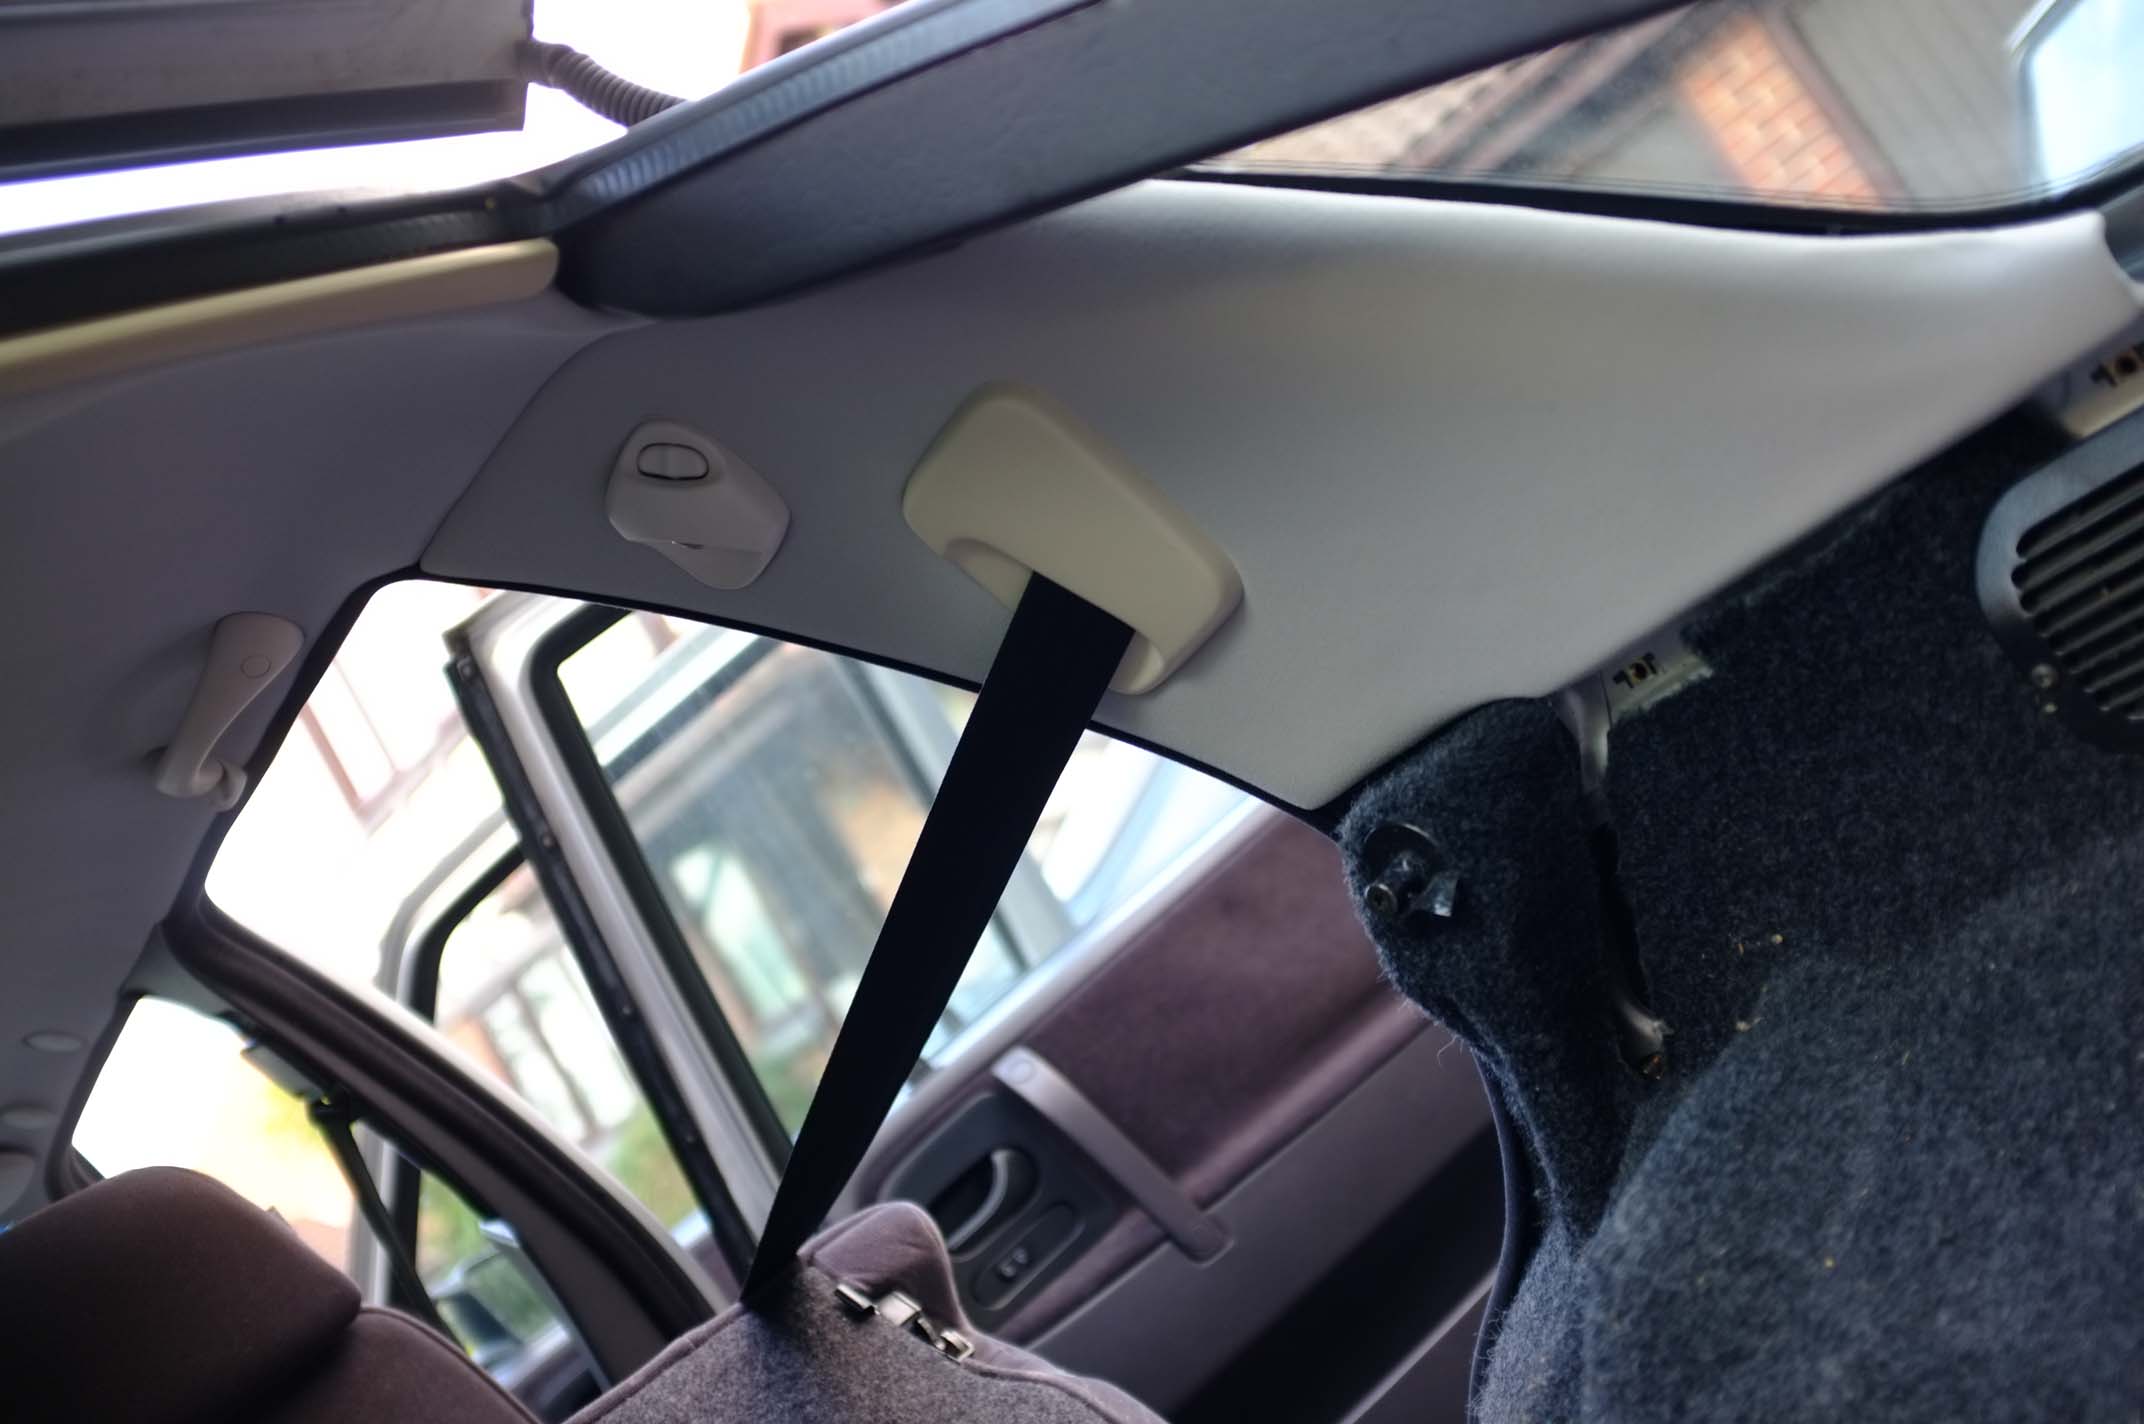
Luckily inside Jalopy HQ there were some rolls of headlining material in Saab colours, along with some spray adhesive. I set about removing the headlining, but got stuck pretty quickly as I found that I needed to remove more that just the side trims and the grab handles. This extended to sill covers and rear seat belts… Once I had started to undo one thing I realised that something else had to be undone to remove the first bit. Soon I had strategically grouped sections of interior around the different compartments of the car. I like well made cars, the problem with them is that unless you put one together in the first place, working out what needs to be undone to get to what you need can be a little puzzling. And time consuming.
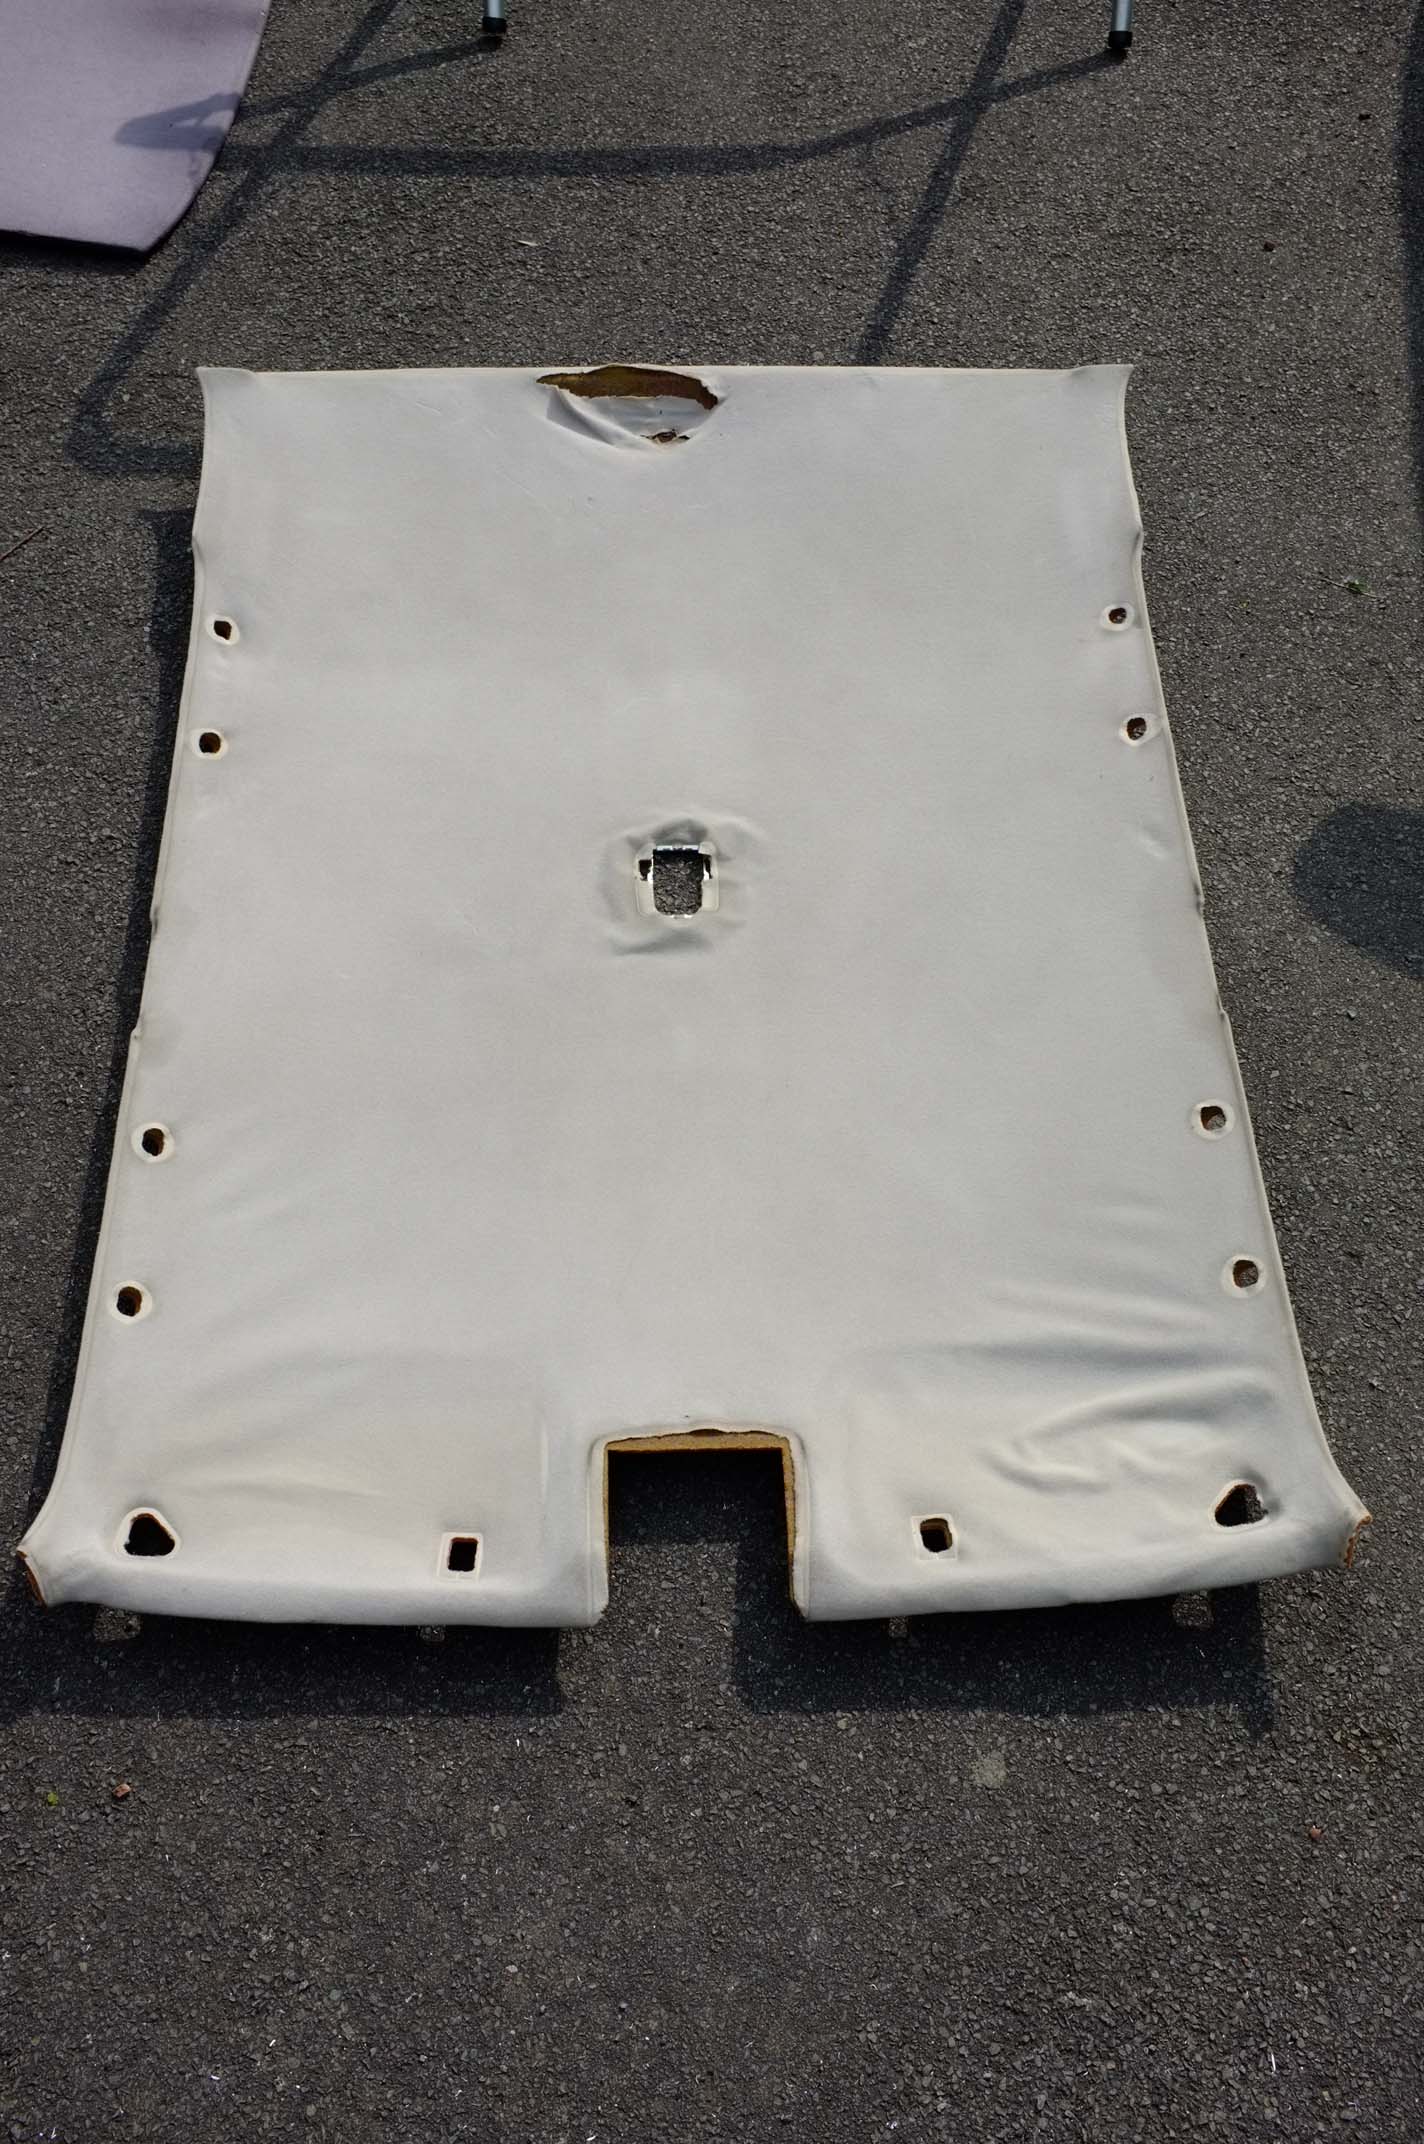
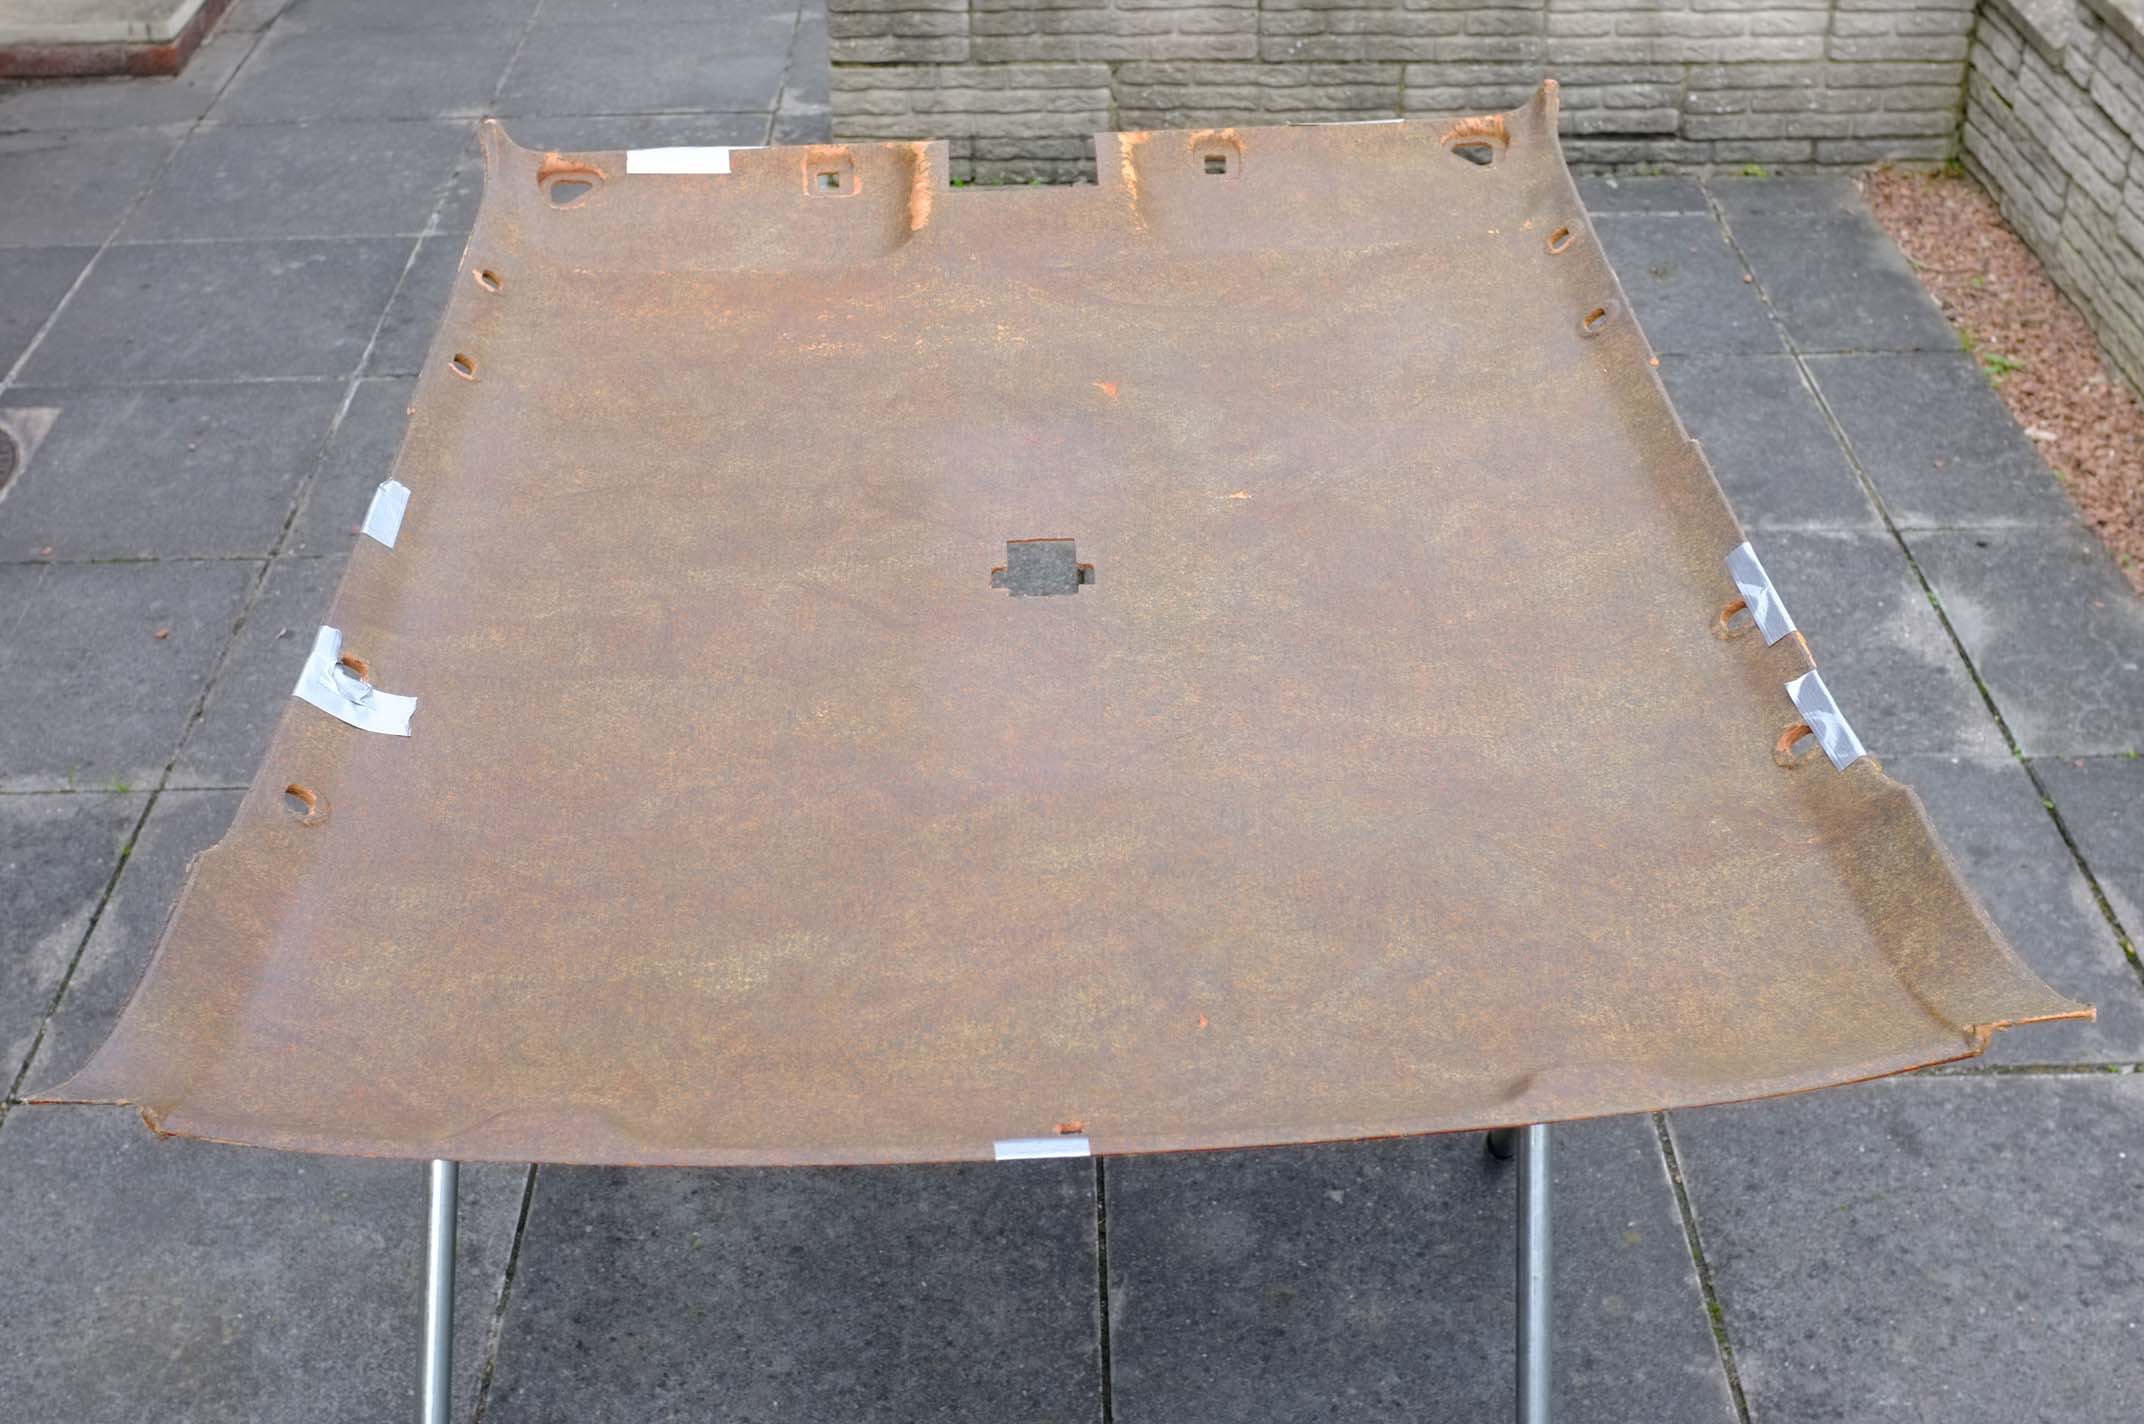
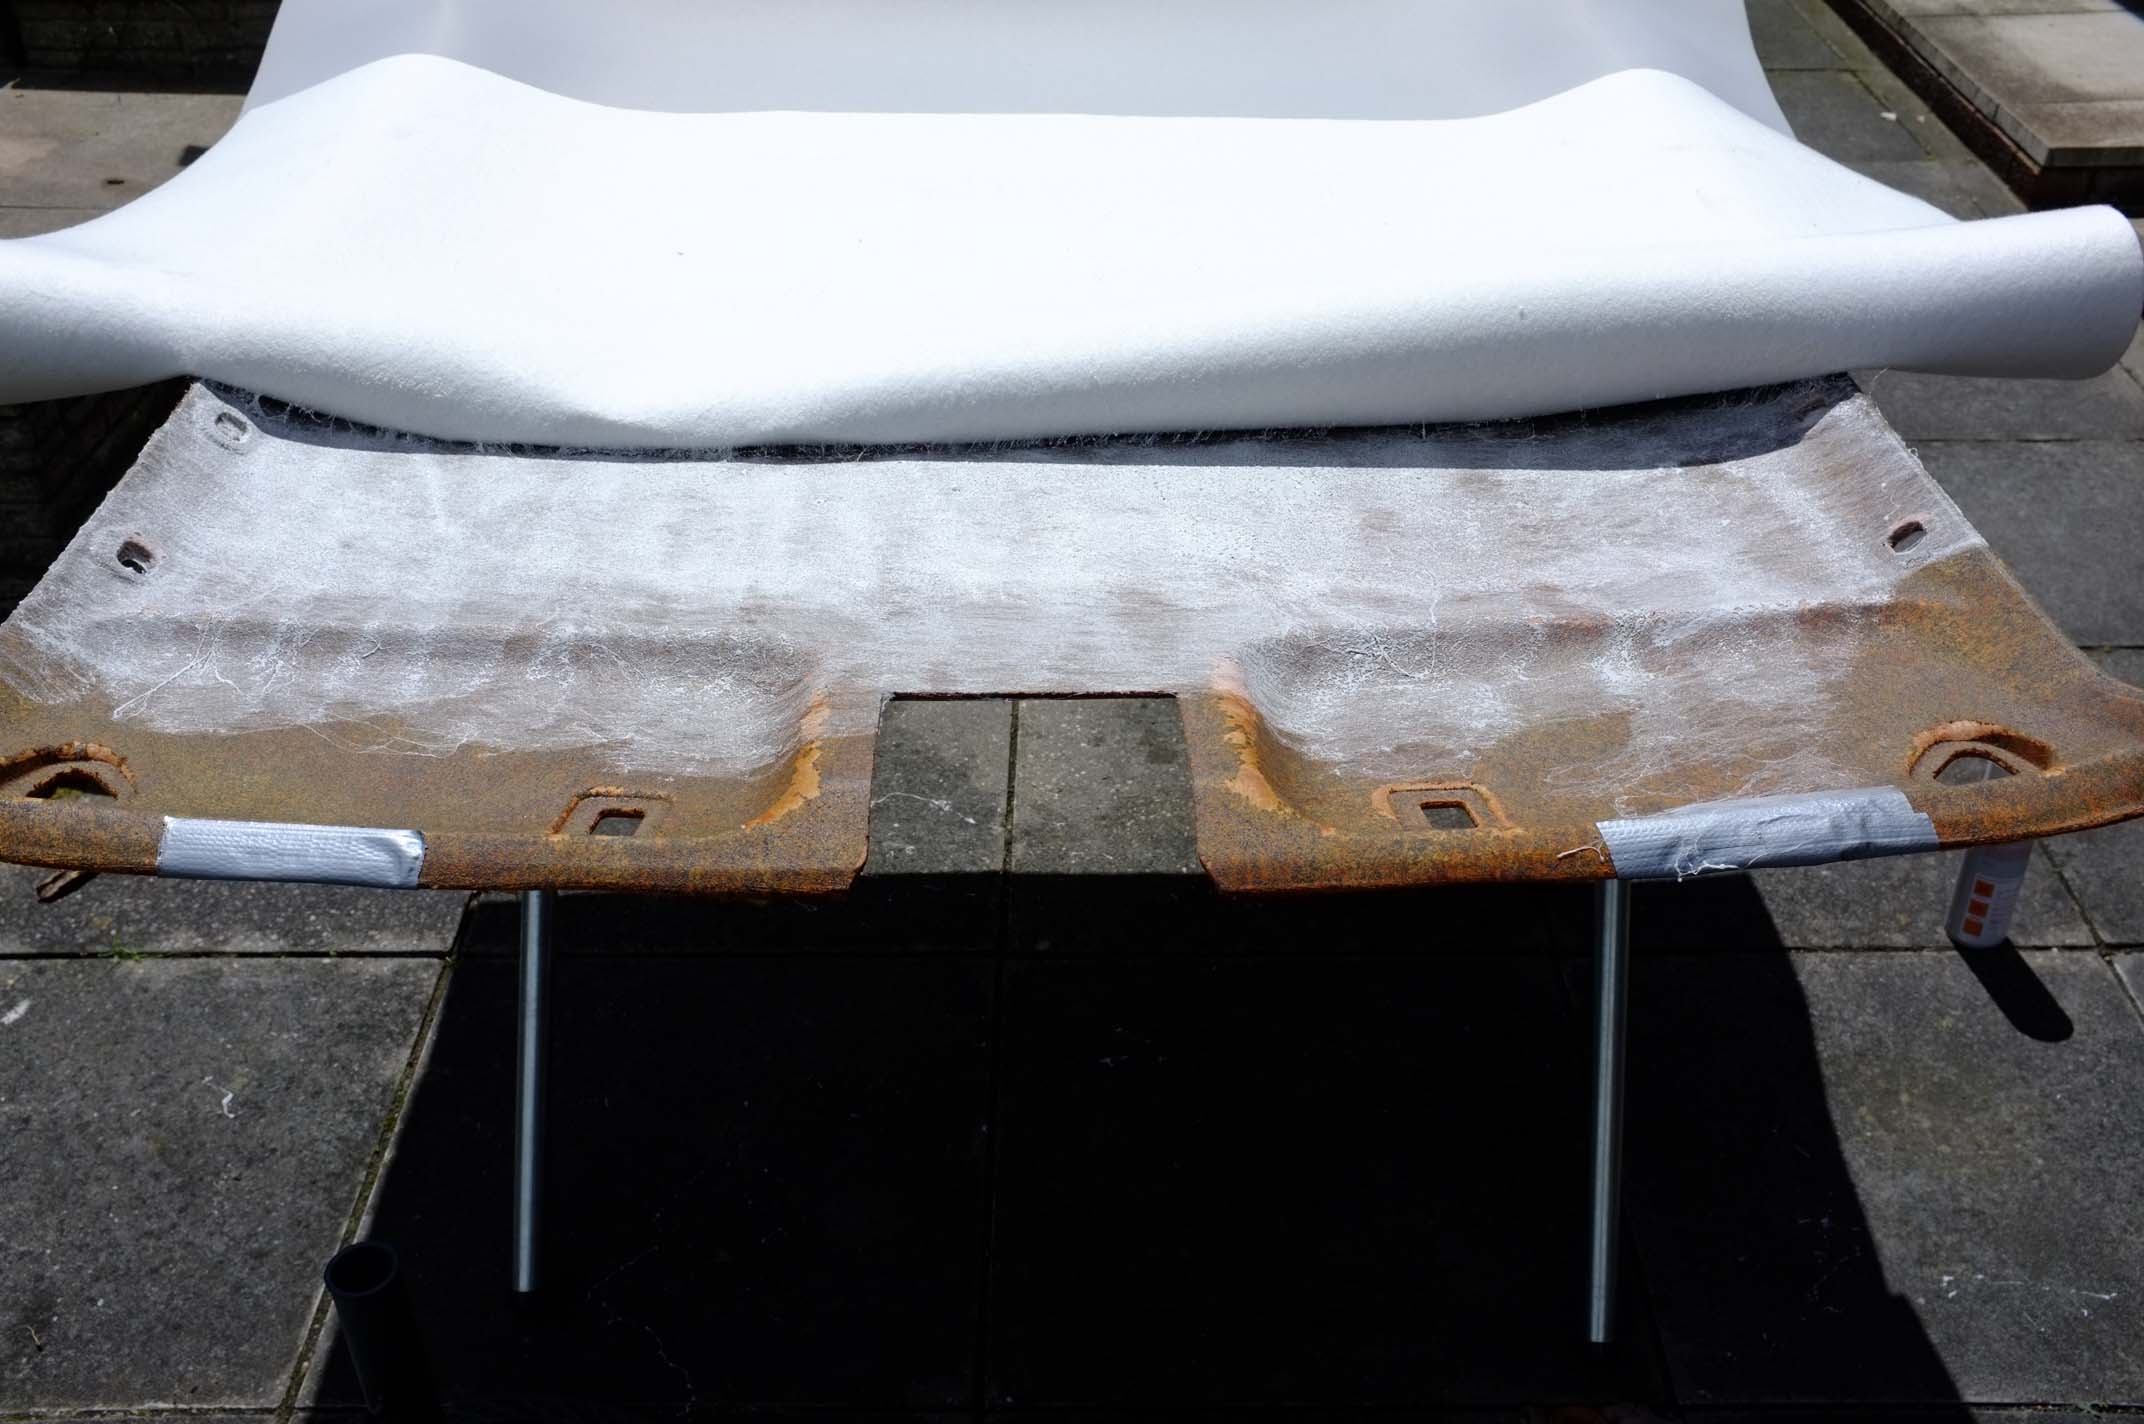
Once it was out I had to remove the old material and clean everything up for the new one to stick to. The most suitable workbench was outside on the ground. Bemused passers by must have wondered what I was doing with a nylon scrubbing brush and a Henry vacuum cleaner to what amounts to a big piece of glorified cardboard.
Several sessions later and copious amounts of duct tape repair and I had a suitably clean board to put the new material onto. After some trimming and a bit of guess work I got out the adhesive and started to spray both bits I was sticking together. This stuff came out like a spider’s web covering everything in a three feet radius… except it was windy and it covered me, both sides of the material and the ground, which was the only consolation to having to doing it outside. I wasn’t going to have to clean it up. It wasn’t so bad, it seemed to be soaking up some of the various types of oils that have been leaking.
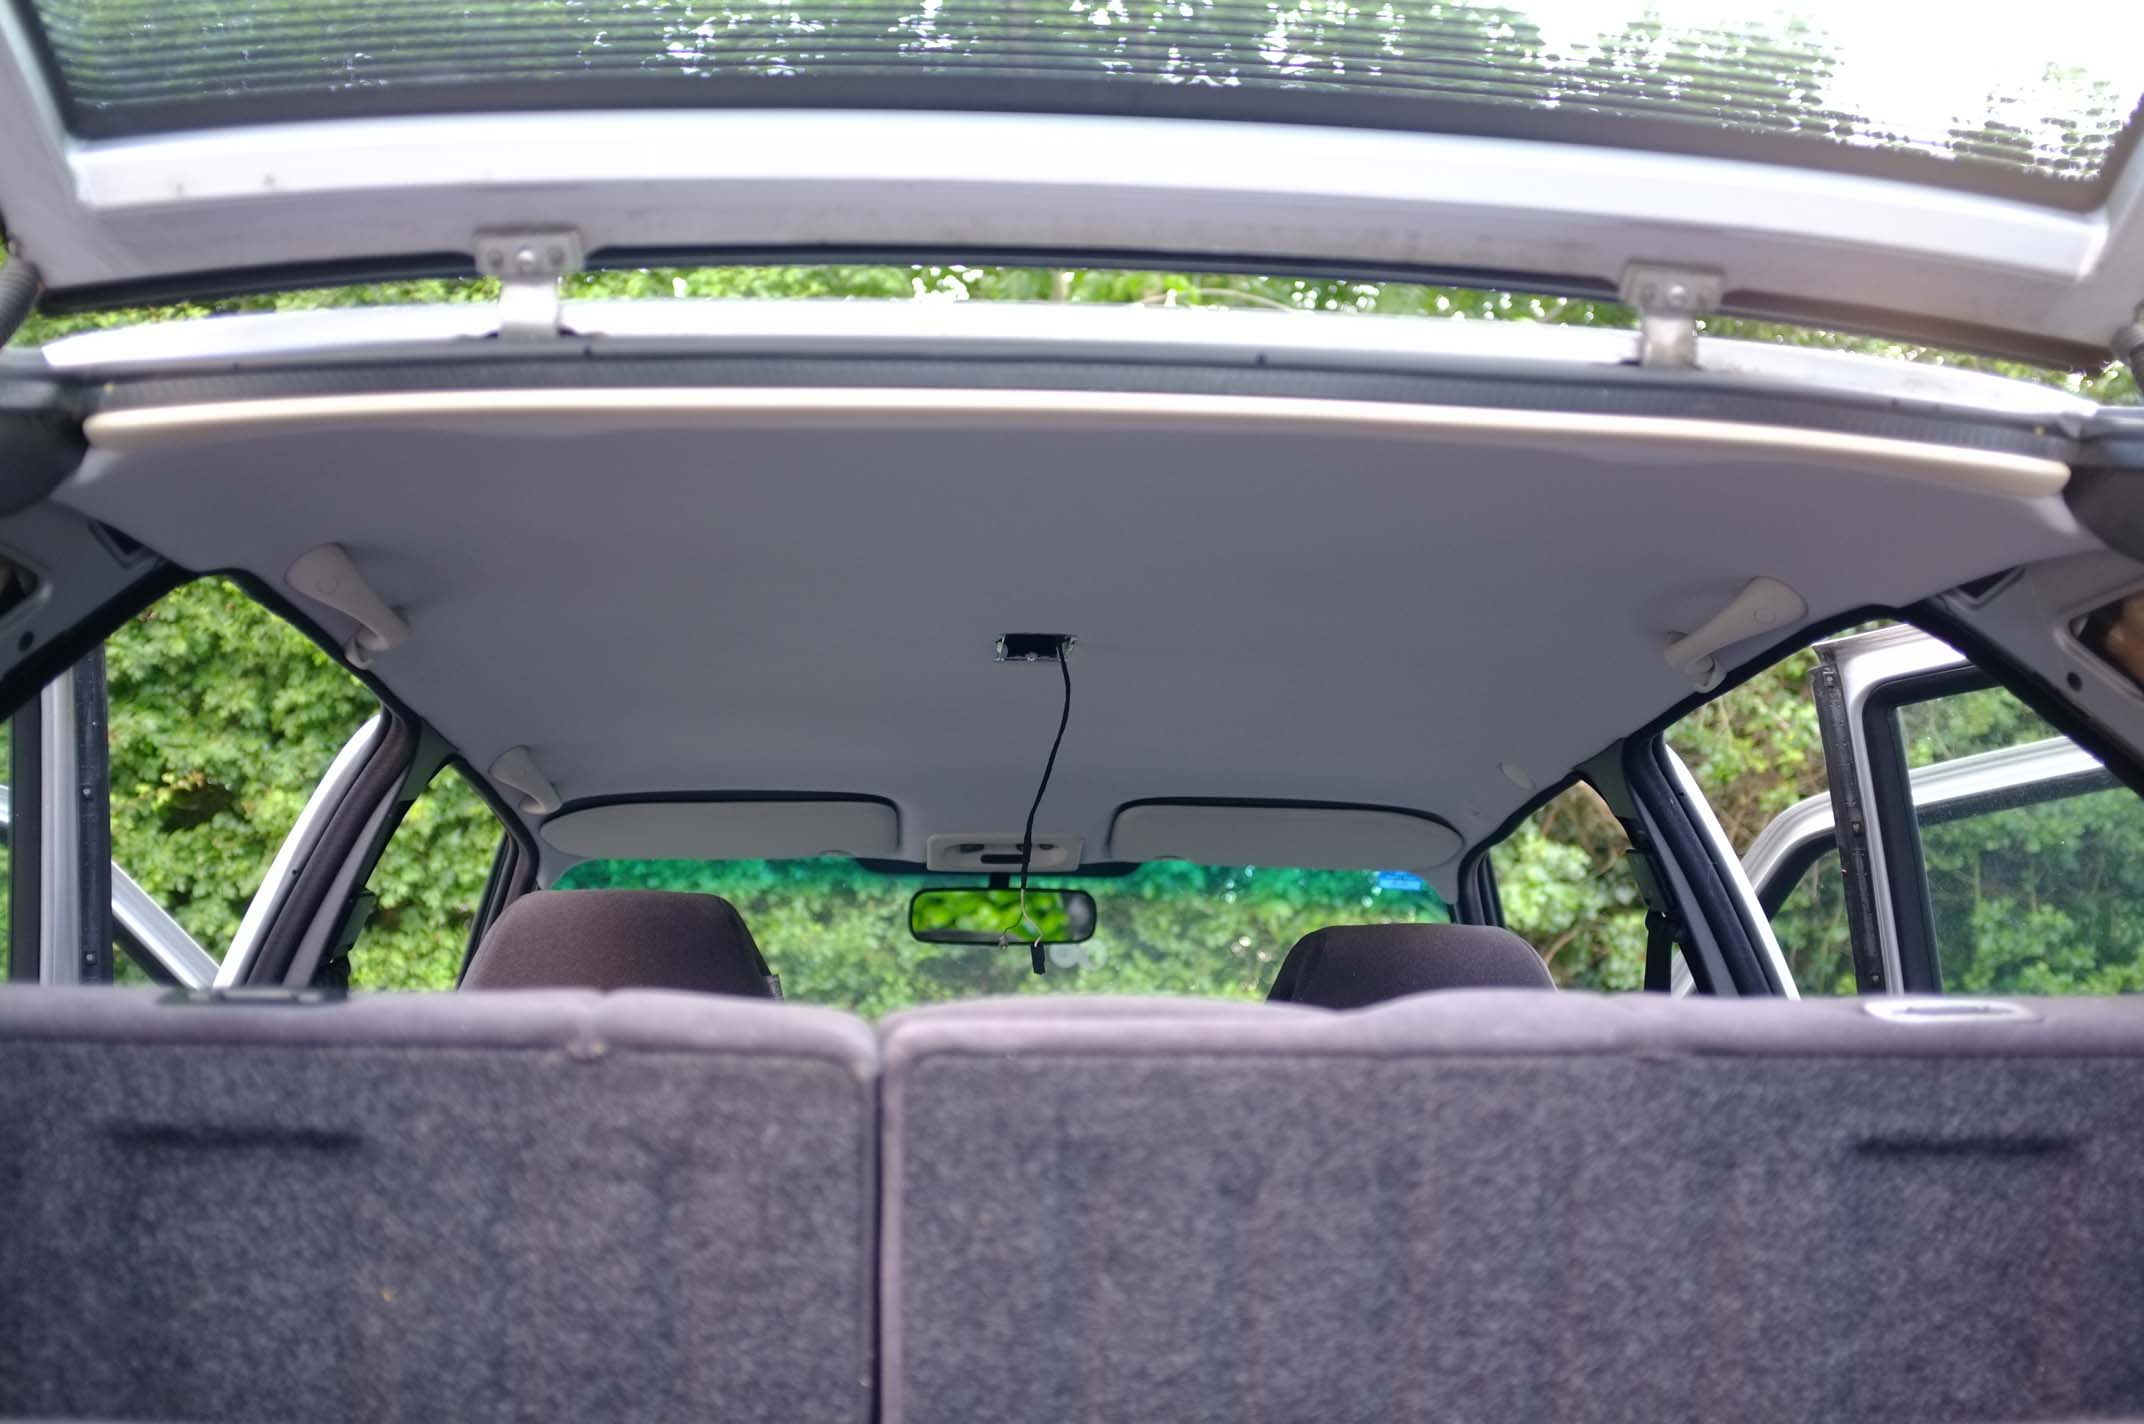
The success of the material and final trimming was quite satisfying, even if it took four times as long as earlier predictions, it came to refitting. (Note that this did not happen on the same day, it took a couple to get this far). Re-fitting was to be the reverse of removal, I had thought. The bemused passers by turned into amused passers by whilst watching what appeared to be someone surfing upside down in the back of a car on a 4×3’ board. Doing this on your own is possible as it actually went back in, but not before I’d cocked up somewhere and had to remove more Torx bits and plastic assemblies.
Assembling the trim was like doing a 3D jigsaw with some seriously oversized pieces, although it did go back together without too much damage to the car, just to my fingers. The debris left by the old material was pretty much into everything and required another serious session with Henry. There was also some white candy floss style substance covering the seats, which wouldn’t shift, so I bet a late night brushing up there will be needed before I have to use it. I’ll add that low down the list.
To celebrate the success of what transforms the appearance of the interior for minimal cost I splashed out and called Dave at Cool Car to remove the remains of the R12 refrigerant from the air con compressor and convert it to R134a. Now I’d happily do this myself, apart from the rather toxic nature of R12 and the fact that if caught releasing it into the atmosphere is an imprisonable offence. Dave made light work of it, and looked slightly concerned when I said it’s at least seven years since it’s been used. Thankfully the system worked and drew the gas in when running and turned the inside of the car ice cold, we were heading somewhere much warmer after all. Maybe I didn’t need to seeing as I’d cured the headlining problem, but I figured what the hell. Trouble was I then heard the squeaking noise from the engine bay, whose pitch and interval could be regulated by the throttle, and remembered it from before. I wonder if that’s the water pump…
